Rear Electrical
[07/06/2010]
 A bit of a slow day for Questor, but any day making progress is a good day. Today I took care of the
remaining loose wires so now there is no longer any danger of wire chafing during the construction
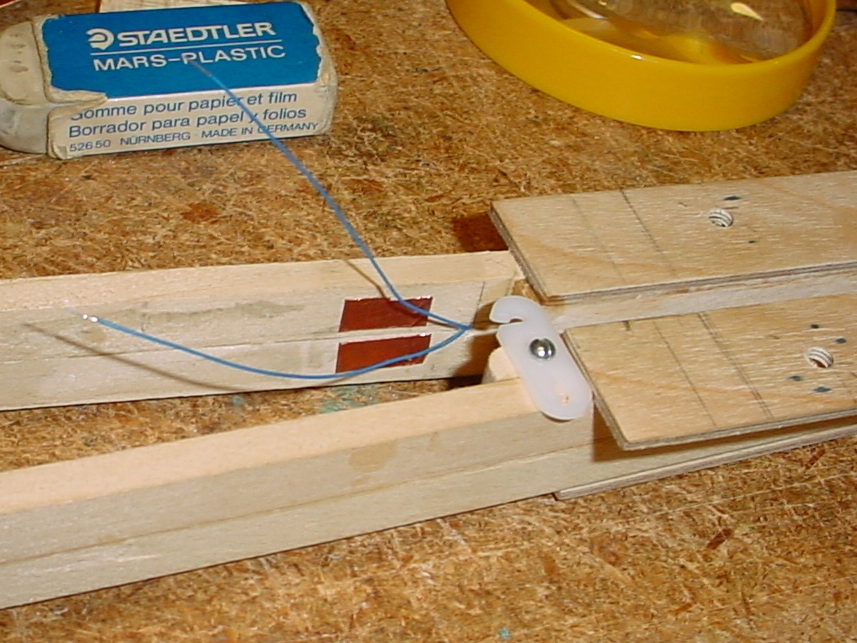
process (and hopefully also during operation). I began by cutting out a couple of strips of sticky
back copper foil and attaching them to the tail boom. Keep in mind that all this sounds very simple -
and it is - but this short series from here to the end of this page spanned a period of about three hours. Or more.
A bit of a slow day for Questor, but any day making progress is a good day. Today I took care of the
remaining loose wires so now there is no longer any danger of wire chafing during the construction
process (and hopefully also during operation). I began by cutting out a couple of strips of sticky
back copper foil and attaching them to the tail boom. Keep in mind that all this sounds very simple -
and it is - but this short series from here to the end of this page spanned a period of about three hours. Or more.
 Next, I carefully measured, cut, stripped and soldered the tiny wires in place. This is the last of such
delicate operations that will be required for this project, so I'm very glad to get this particular step
behind me.
Next, I carefully measured, cut, stripped and soldered the tiny wires in place. This is the last of such
delicate operations that will be required for this project, so I'm very glad to get this particular step
behind me.
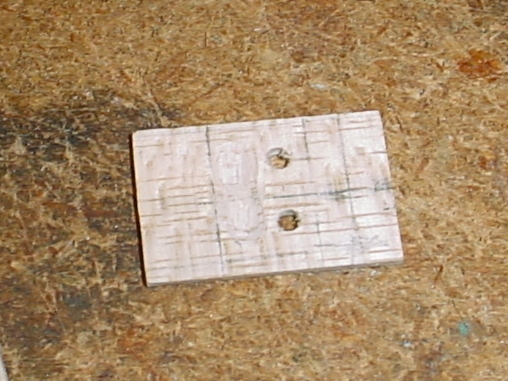 Next came the cover plate. The first one I made was made in haste, and we all know how that turns out.
But it was a good prototyping exercise to pave the way for this cover plate. It is difficult to make out
the detail here, but there are little cavities in the wood to make room for the solder mounds that were
added to the copper strips where the wires connect. There is also a groove down the center to accommodate
the wires from their span between where they exit the boom and connect to the copper strips.
Next came the cover plate. The first one I made was made in haste, and we all know how that turns out.
But it was a good prototyping exercise to pave the way for this cover plate. It is difficult to make out
the detail here, but there are little cavities in the wood to make room for the solder mounds that were
added to the copper strips where the wires connect. There is also a groove down the center to accommodate
the wires from their span between where they exit the boom and connect to the copper strips.
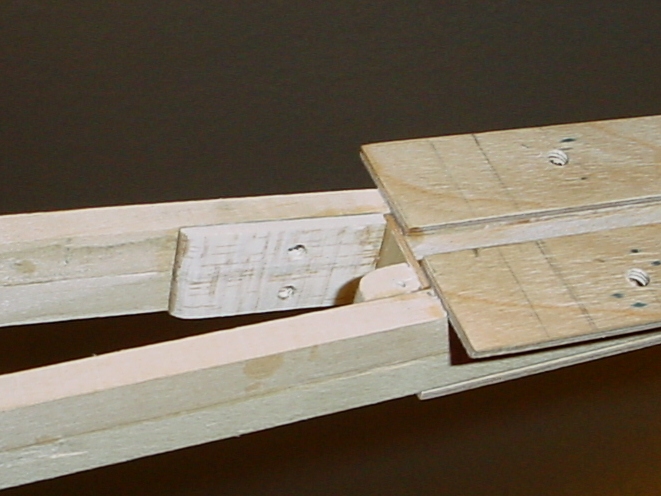 Finally, the cover plate was sanded to shape and glued in place and then sanded flush along the edges. It's
a beautiful tail! Well, functionally, anyway. Now I just need to test continuity (there
is solder down in the holes as well) and plug the holes with some hot glue until they are needed in the
future...if ever.
Finally, the cover plate was sanded to shape and glued in place and then sanded flush along the edges. It's
a beautiful tail! Well, functionally, anyway. Now I just need to test continuity (there
is solder down in the holes as well) and plug the holes with some hot glue until they are needed in the
future...if ever.